


Table of contents

No headings in the article.
Hello everyone, welcome to my latest blog post. Today, I want to talk about a topic that I am sure many of you frontend developers out there can relate to - embedding a YouTube video in your project. Whether you're working on a personal website or a side project, you've likely come across the need to add a video to your page at some point. However, the process of embedding a video from YouTube in HTML can sometimes be a bit tricky. In this post, I will be sharing with you the steps I take when embedding a YouTube video in HTML and also some best practices that I have found to make the process as smooth as possible. So, without further ado, let's get started!
For those who prefer to learn by watching, check out this tutorial video
First of all start with selecting a video from youtube that you want to embed. In my case, I selected a video from my channel in which I describe how we can use meta tags in react.
After selecting a video click on the share button on that video and then a pop-up will open in which you will have different options.
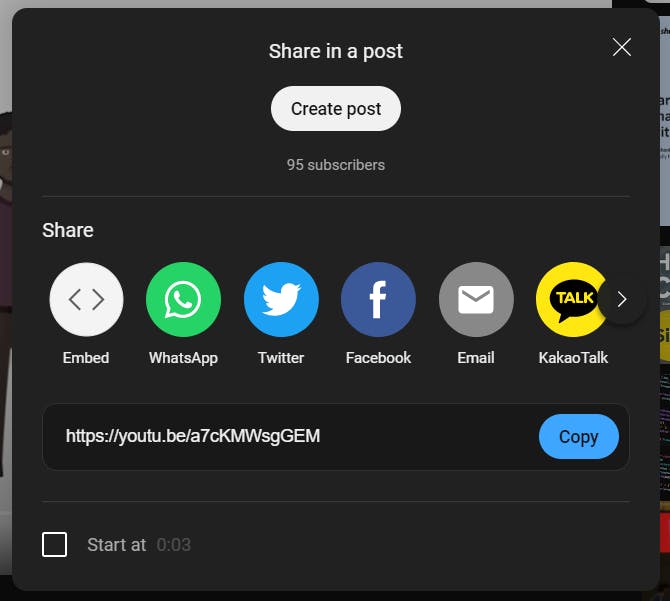
Select embed and copy that code and paste it into your project.
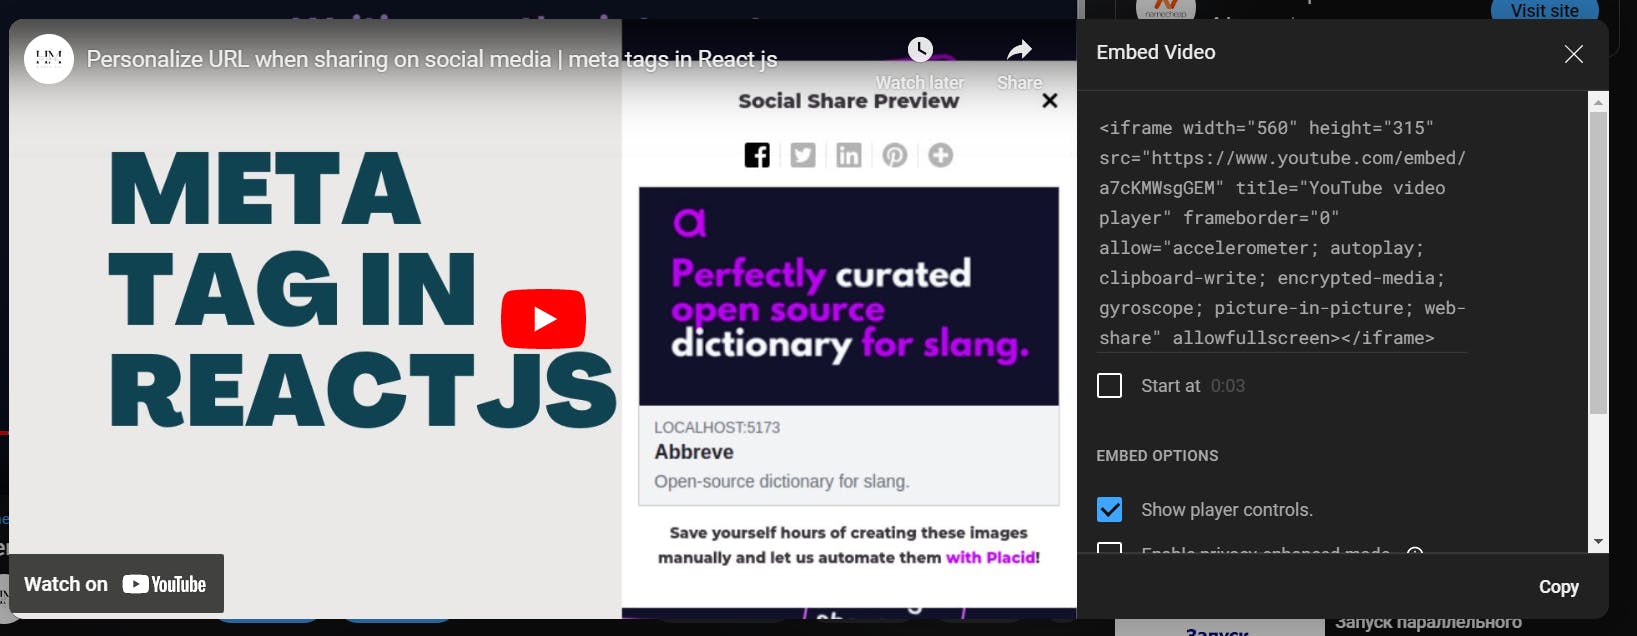
In my case, I have created a new project in which I am going to embed this video. Here is the code snippet of it.
<!DOCTYPE html>
<html lang="en">
    <head>
        <meta charset="UTF-8" />
        <meta name="viewport" content="width=device-width, initial-scale=1.0" />
        <meta http-equiv="X-UA-Compatible" content="ie=edge" />
        <title>Embed youtube video in HTML</title>
        <link rel="stylesheet" href="index.css" />
    </head>
    <body>
        <iframe
            width="560"
            height="315"
            src="https://www.youtube.com/embed/a7cKMWsgGEM"
            title="YouTube video player"
            allow="accelerometer; autoplay; clipboard-write; encrypted-media; gyroscope; picture-in-picture; web-share"
            allowfullscreen
        ></iframe>
    </body>
</html>
allowfullscreen: Set to
trueif the<iframe>can activate fullscreen mode by calling therequestFullscreen()methodallow: Specifies a Permissions Policy for the
<iframe>. The policy defines what features are available to the<iframe>(for example, access to the microphone, camera, battery, web-share, etc.) based on the origin of the request.title: The
titlethe global attribute contains text representing advisory information related to the element it belongs to.src: Adding a Link to the Desired Video for Embedding.
height and width: Specify the Size.
You can keep the attribute as they are but if you want to style them you can do it by giving the class attributed to the iframe tag.
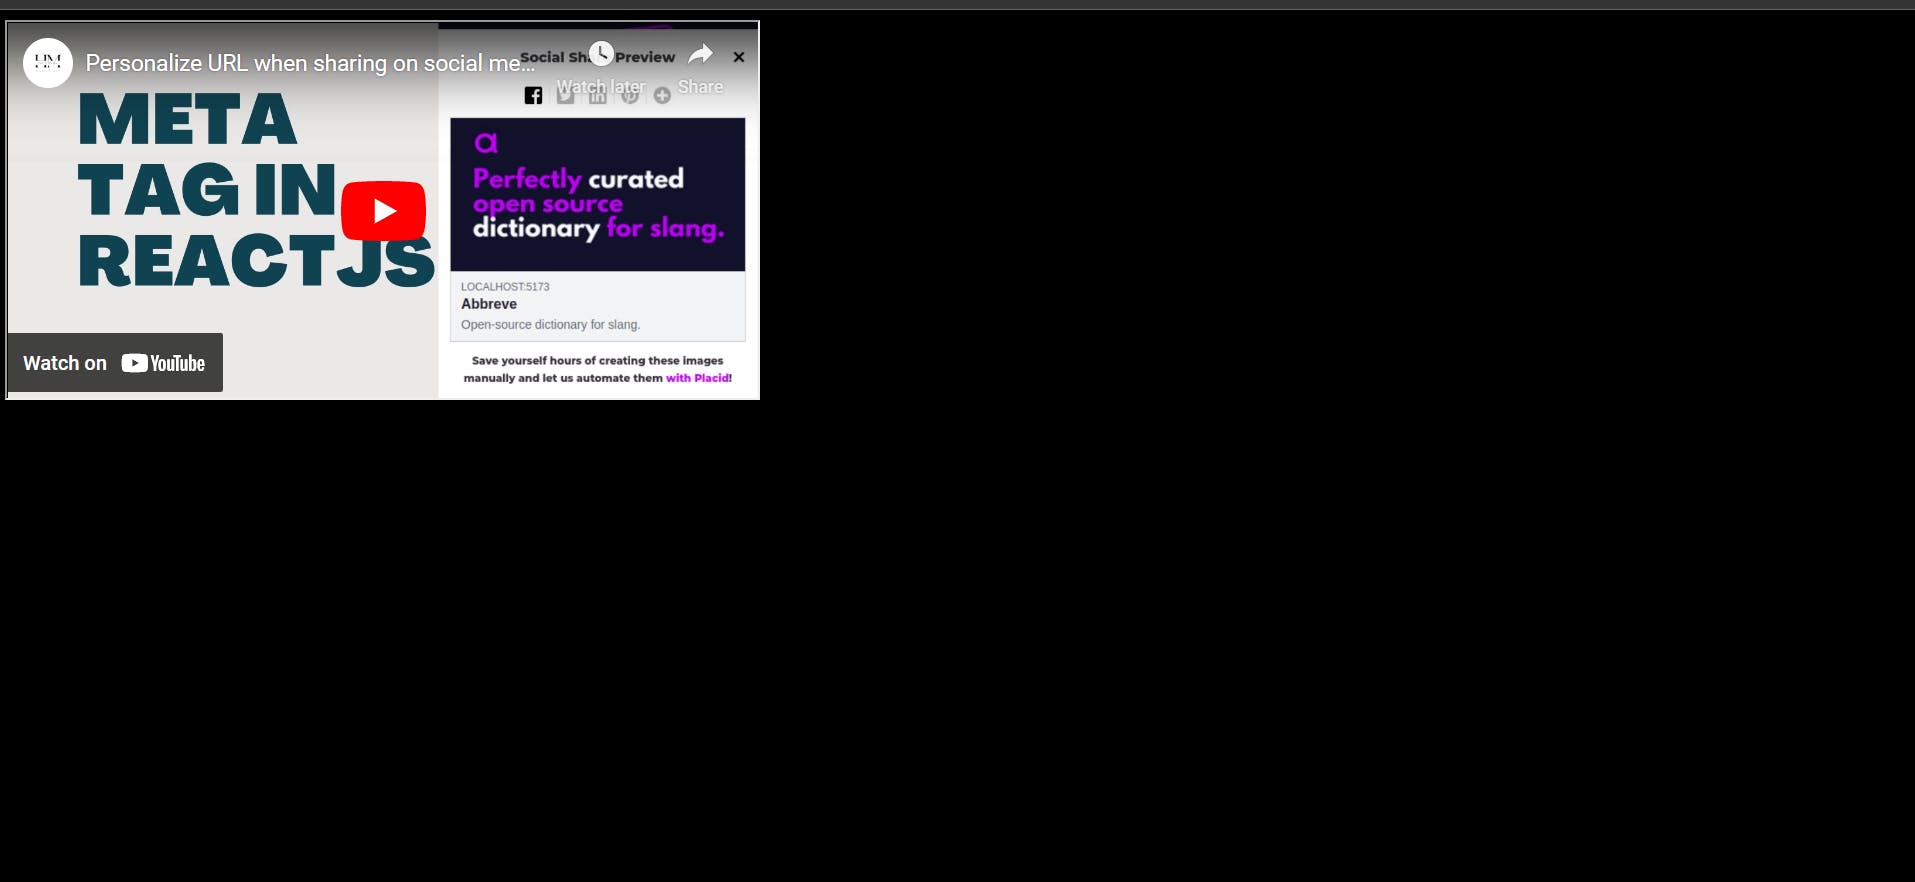
Here is my final code and its result
<iframe
            width="600px"
            height="300px"
            src="https://www.youtube.com/embed/a7cKMWsgGEM"
            title="YouTube video player"
            allow="accelerometer; autoplay; clipboard-write; encrypted-media; gyroscope; picture-in-picture; web-share"
            allowfullscreen
        ></iframe>
Embedding YouTube videos in HTML is a simple process that allows you to share rich content with your audience. I hope this guide has helped get you started. Happy embedding!