Table of contents
febform is a smart end point for developers to handle form submission. Simply submit the form to febform endpoint and VOILÀ submission is completed. No need to create an API to handle forms, febform got that part covered.
Implementation
Lets get into the implementation of the febform.
First of all create an account on fabform.io. After creating account create an end point where you want to submit your form.

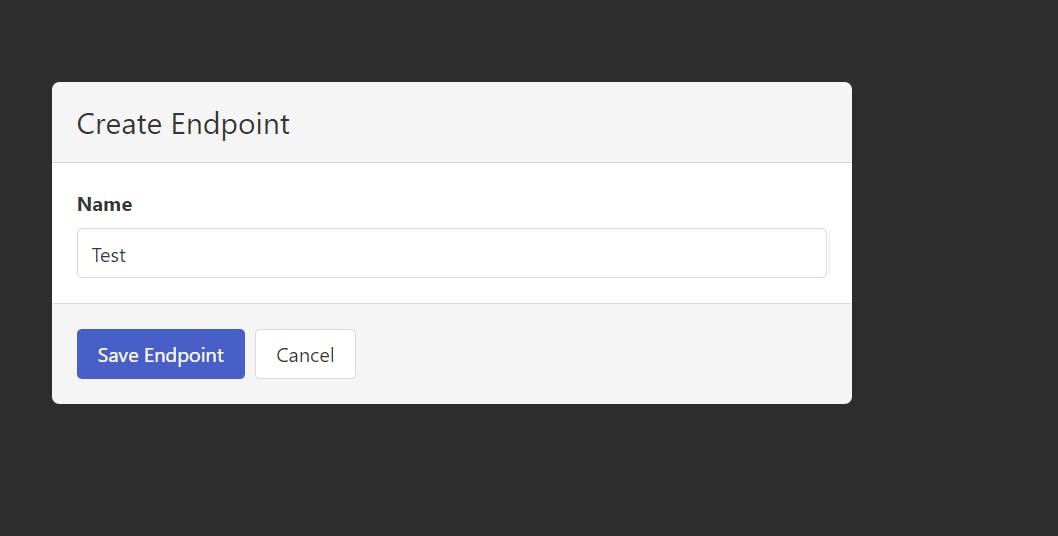
Click on create endpoint then you will get a pop up that will ask you to enter then name of the end point.

After typing the name hit save endpoint and you got your end point.

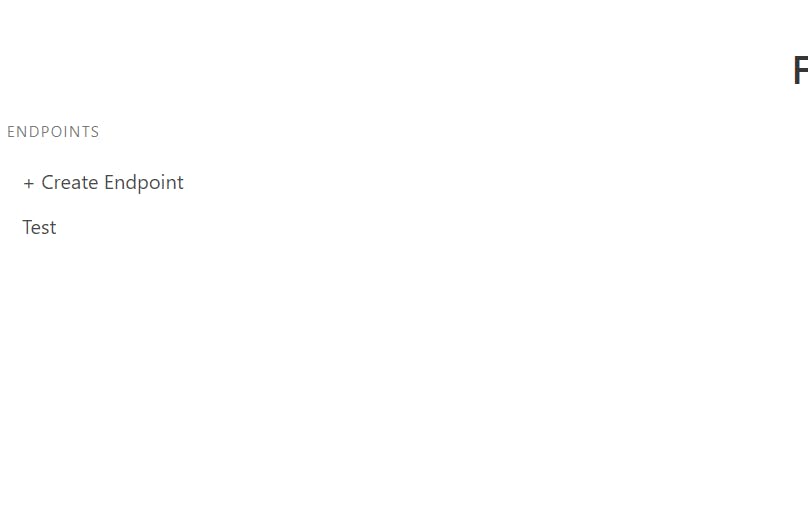
On the left side you will get the list of end points. Click on the recently created end point in this case Test. You will get the key of the form which we will use to submit our form to the this endpoint.

In this case the key is vWPMSd0 .
Now let create our form.
<!DOCTYPE html>
<html lang="en">
<head>
    <meta charset="UTF-8">
    <meta http-equiv="X-UA-Compatible" content="IE=edge">
    <meta name="viewport" content="width=device-width, initial-scale=1.0">
    <title>Document</title>
</head>
<body>
    <form method="post" action="https://fabform.io/f/vWPMSd0" >
        <input type="text" placeholder="First Name" name="first_name">
        <input type="text" placeholder="Last Name" name="last_name">
        <input type="email" placeholder="Email" name="email">
        <input type="submit" value="submit">
    </form>
</body>
</html>
In the above html code we simply created a form that has three fields that are First Name , Last Name and an email field. In the form action we added the url to our fabform end point. the name of the fields will be the identifier. After running the html file we will get this form

Lets add some values and submit the form

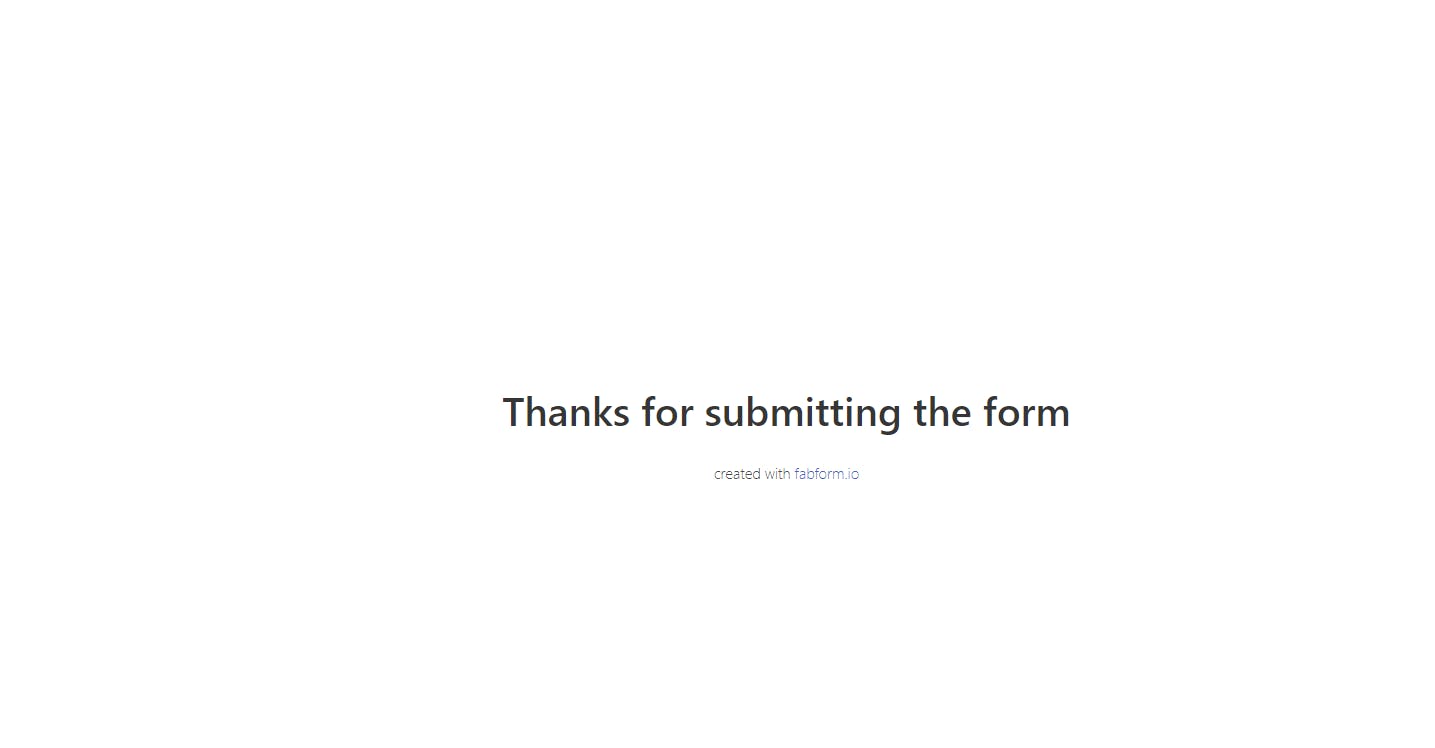
After submitting the form if we get below screen this means that our form is successfully submitted.

To check if the data is saved or not you can go to the end point and if the submission is successful then you will see the reflection of data in your endpoint.

As the above image demonstrates our data is saved to the end point we created.
FabForm is not schema base plateform. You can hit the end point with the data different to the previously saved data and it will handle that data smoothly. Lets take a look at another example.
If we add another field of family name in our already created form and submit it.fabform should handle it and we should be able to see that extra field in the table.
<!DOCTYPE html>
<html lang="en">
<head>
    <meta charset="UTF-8">
    <meta http-equiv="X-UA-Compatible" content="IE=edge">
    <meta name="viewport" content="width=device-width, initial-scale=1.0">
    <title>Document</title>
</head>
<body>
    <form method="post" action="https://fabform.io/f/vWPMSd0" >
        <input type="text" placeholder="First Name" name="first_name">
        <input type="text" placeholder="Last Name" name="last_name">
        <input type="text" placeholder="Family Name" name="family_name">
        <input type="email" placeholder="Email" name="email">
        <input type="submit" value="submit">
    </form>
</body>
</html>

After submitting the form we get the data in our table

Why use FabForm?
- You don’t need to create an end point for you form submission
- Server-side data validation.
- Protection from spam using captcha
- All of the submission are saved to the fabform universal inbox and can be sent to google sheet or Airtable.
Conclusion
Fab forms is a smart form submission for the developer. It is Simplest way to submit form for static websites. By setting the action of the form to fabform you get your end point for the form.
That is it for this blog. Bye!

